Yes, I realize that Halloween is 6 weeks away – but I’ve been itching to design some new Cake Pops using my Babycakes Cake Pop Maker, so I seized the opportunity! Here is a step by step for one of the easiest – and cutest – cake pops I have ever made!
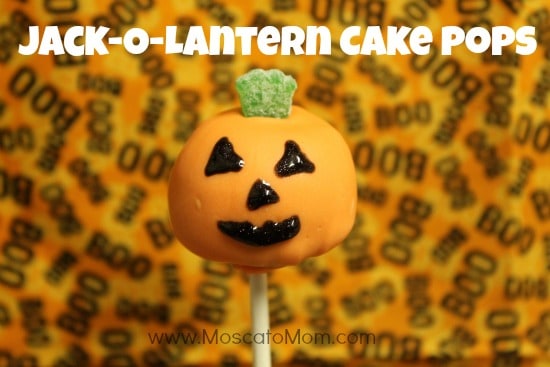
Jack-o-Lantern Halloween Cake Pops
Ingredients:
- Funfetti Cake Mix (works best)
- 3 eggs
- Oil
- Water
- Wilton Orange Icing Color (optional)
- Orange Candy Melts
- Sour Patch Kids Candies
- Wilton Sparkle Gel
- Lollipop sticks
- Babycakes Cake Pop Maker
- Cake Pop Stand or styrofoam with holes poked in it
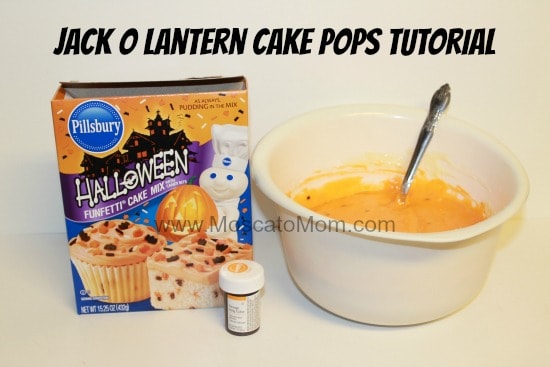
First mix up the Funfetti Cake Batter exactly as the box instructs. I prefer using Pillsbury in my Babycakes Cake Pop Maker as it rises the best. Other batters I have tried turn into little “space ships” and are not the fluffy, round pops that we all want. I wanted mine really orangey so I added a little bit of Wilton Orange Icing Color to give them a deeper color.
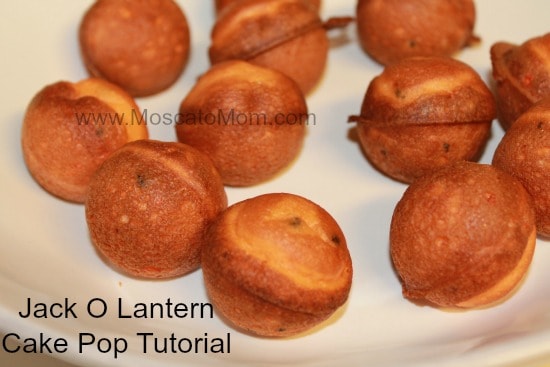
Next, spoon approximately one heaping teaspoon of batter into your preheated Babycakes Cake Pop Maker. Close the top and let them cook for four minutes. Don’t worry if a little bit runs over the edge – once they cook you can easily pop off the excess for a little crunchy treat. After four minutes place the cake pops in a single layer on a cookie sheet and run into the freezer for about an hour.
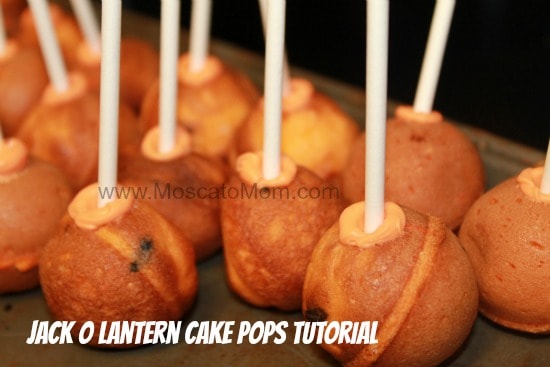
After an hour of letting the cake pops “set” melt just a couple of the candy melts in the microwave. I like to warm them in 20-second increments – stirring until they are nice and smooth. These are easy to burn and will turn into like a powdery substance you have to throw away, so be careful not to overcook them. Once smooth take your lollipop sticks and dip into the melts, and then push them into the cake pops – careful not to go through to the other side, but to get them secure in the pops. Then, run them back into the freezer for another hour to get firmly set. This will be important when you start dipping the pops into the melts – you don’t want to have a “fishing expedition” trying to get the cake pop back after it slides off the stick! 
Once your Halloween Cake Pops are firmly set up, melt the remaining candy melts in a large, deep bowl – again being careful not to scorch them. I added about a tablespoon of oil to thin it out a bit to make it easier to dip into. You do not want it TOO thin, however, or it will not coat correctly.
While you are getting your melts ready, pick out all of the green Sour Patch Kids candies and cut them in half. These will be the “stems” and you need to have them ready to stick onto the pop just as soon as it is dipped in the candy melts.
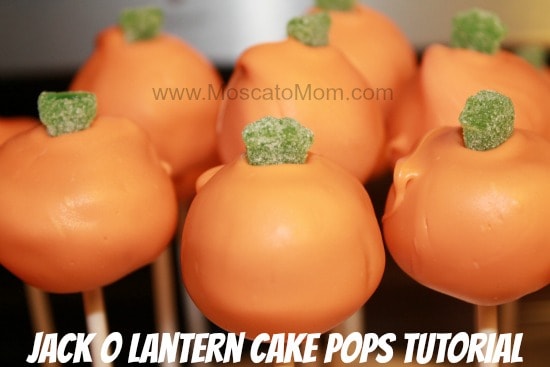
When you have everything ready, start gently dipping each cake pop into the candy melts to get them as evenly coated in orange candy as possible. The good thing about “pumpkins” is that none of them are perfectly round, so you do not have to worry about perfection on this part. Just make sure you can not see any of the cake underneath. Then, while the candy melts are still wet, place your Sour Patch Kids candy on top for the stem. Set them in your Cake Pop Stand to cool.
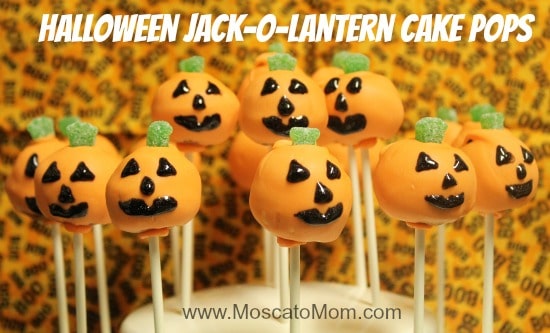
And finally, have fun decorating your “Jack-o-Lanterns” with the Wilton Sparkle Gel which comes in a tube with a nozzle for easy “piping” directly on to your cake pops. Just like with a pumpkin, the girls and I had so much fun making different faces – some smiling, some frowning, some with teeth, and some missing teeth. You can get as fun and creative as you want and make your very own “Pumpkin Patch” of Jack-o-Lanterns.
ENJOY!

The post Jack-o-Lantern Cake Pops appeared first on .